
10 Steps to Building A Galvanized Metal Raised Bed
/

Raised beds are my favorite way to backyard garden. They create dimension, aesthetics, organization, and design to what might otherwise be a simple piece of grass or dirt. They also provide a way to have more control over your growing area, like being able to alter the pH or work as weed barriers. I continue to experiment with different types of raised bed designs, depending on the area of the yard or what I’m trying to grow.
A few months ago, I attended a seminar where the speaker described the pros and cons of different types of raised beds and containers. He briefly discussed the trend of using metal animal troughs and how they can support soil heat for growing crops that may have a variable success rate in the mild climate that I grow in. Metal beds are said to hold a more even temperature throughout the day as the soil absorbs the heat, and maintain a degree of that even when the temperatures cool down at night. Also, galvanized metal takes a long time before rusting and can be reused if the beds were taken apart. The possibility of more growing possibility with reusable materials hooked me!
Naturally this put me on a search for used animal troughs with the vision of having melons and squash growing in the yard as my motivation. I found there were few new or used to choose from, and they were expensive, so I decided to design and build my own. I chose to use a combination of cedar, for the durability, and galvanized metal, to create the heat bed I am hoping for.

I designed the beds with an open bottom to create an environment where organic matter and little critters can move around in a natural, healthy ecosystem. However, this means that weeds and other plants can creep in to the growing area. To help keep the weeds out, I place cardboard down and then layer with yard compost, nursery compost, and top soil and/or mulch (not bark dust). I use the cardboard because it creates an environment where the weeds can’t survive, and within a growing season it will compost down and support the ecosystem I’m hoping for. I’m not a scientist, but I do know there is some science behind this process that ultimately is in support of the underground world and growing process.
So far, I have transplanted garlic into the smaller beds and am waiting for the starts to grow a little more before I transplant the tomatoes, peppers, onions, and basil in the big beds. I am looking forward to testing out these raised beds in my yard this year and hope you also get to have some fun trying out your own!
Below is a list of materials I used and the steps I took to build my beds. Some of the supplies, like the metal shears, you can find in my Tools list on Amazon. The beds (without any tool purchases) cost around $60 each.


Materials
Pen
Measuring Tape
Level
Gloves
Eye Protection
Sealant (I look for the lowest VOCs possible since water runoff will cause the chemicals to seep into your soil where your plants are growing and down into the reservoirs that eventually make their way out to our rivers and oceans)
Drill & Shears Attachment
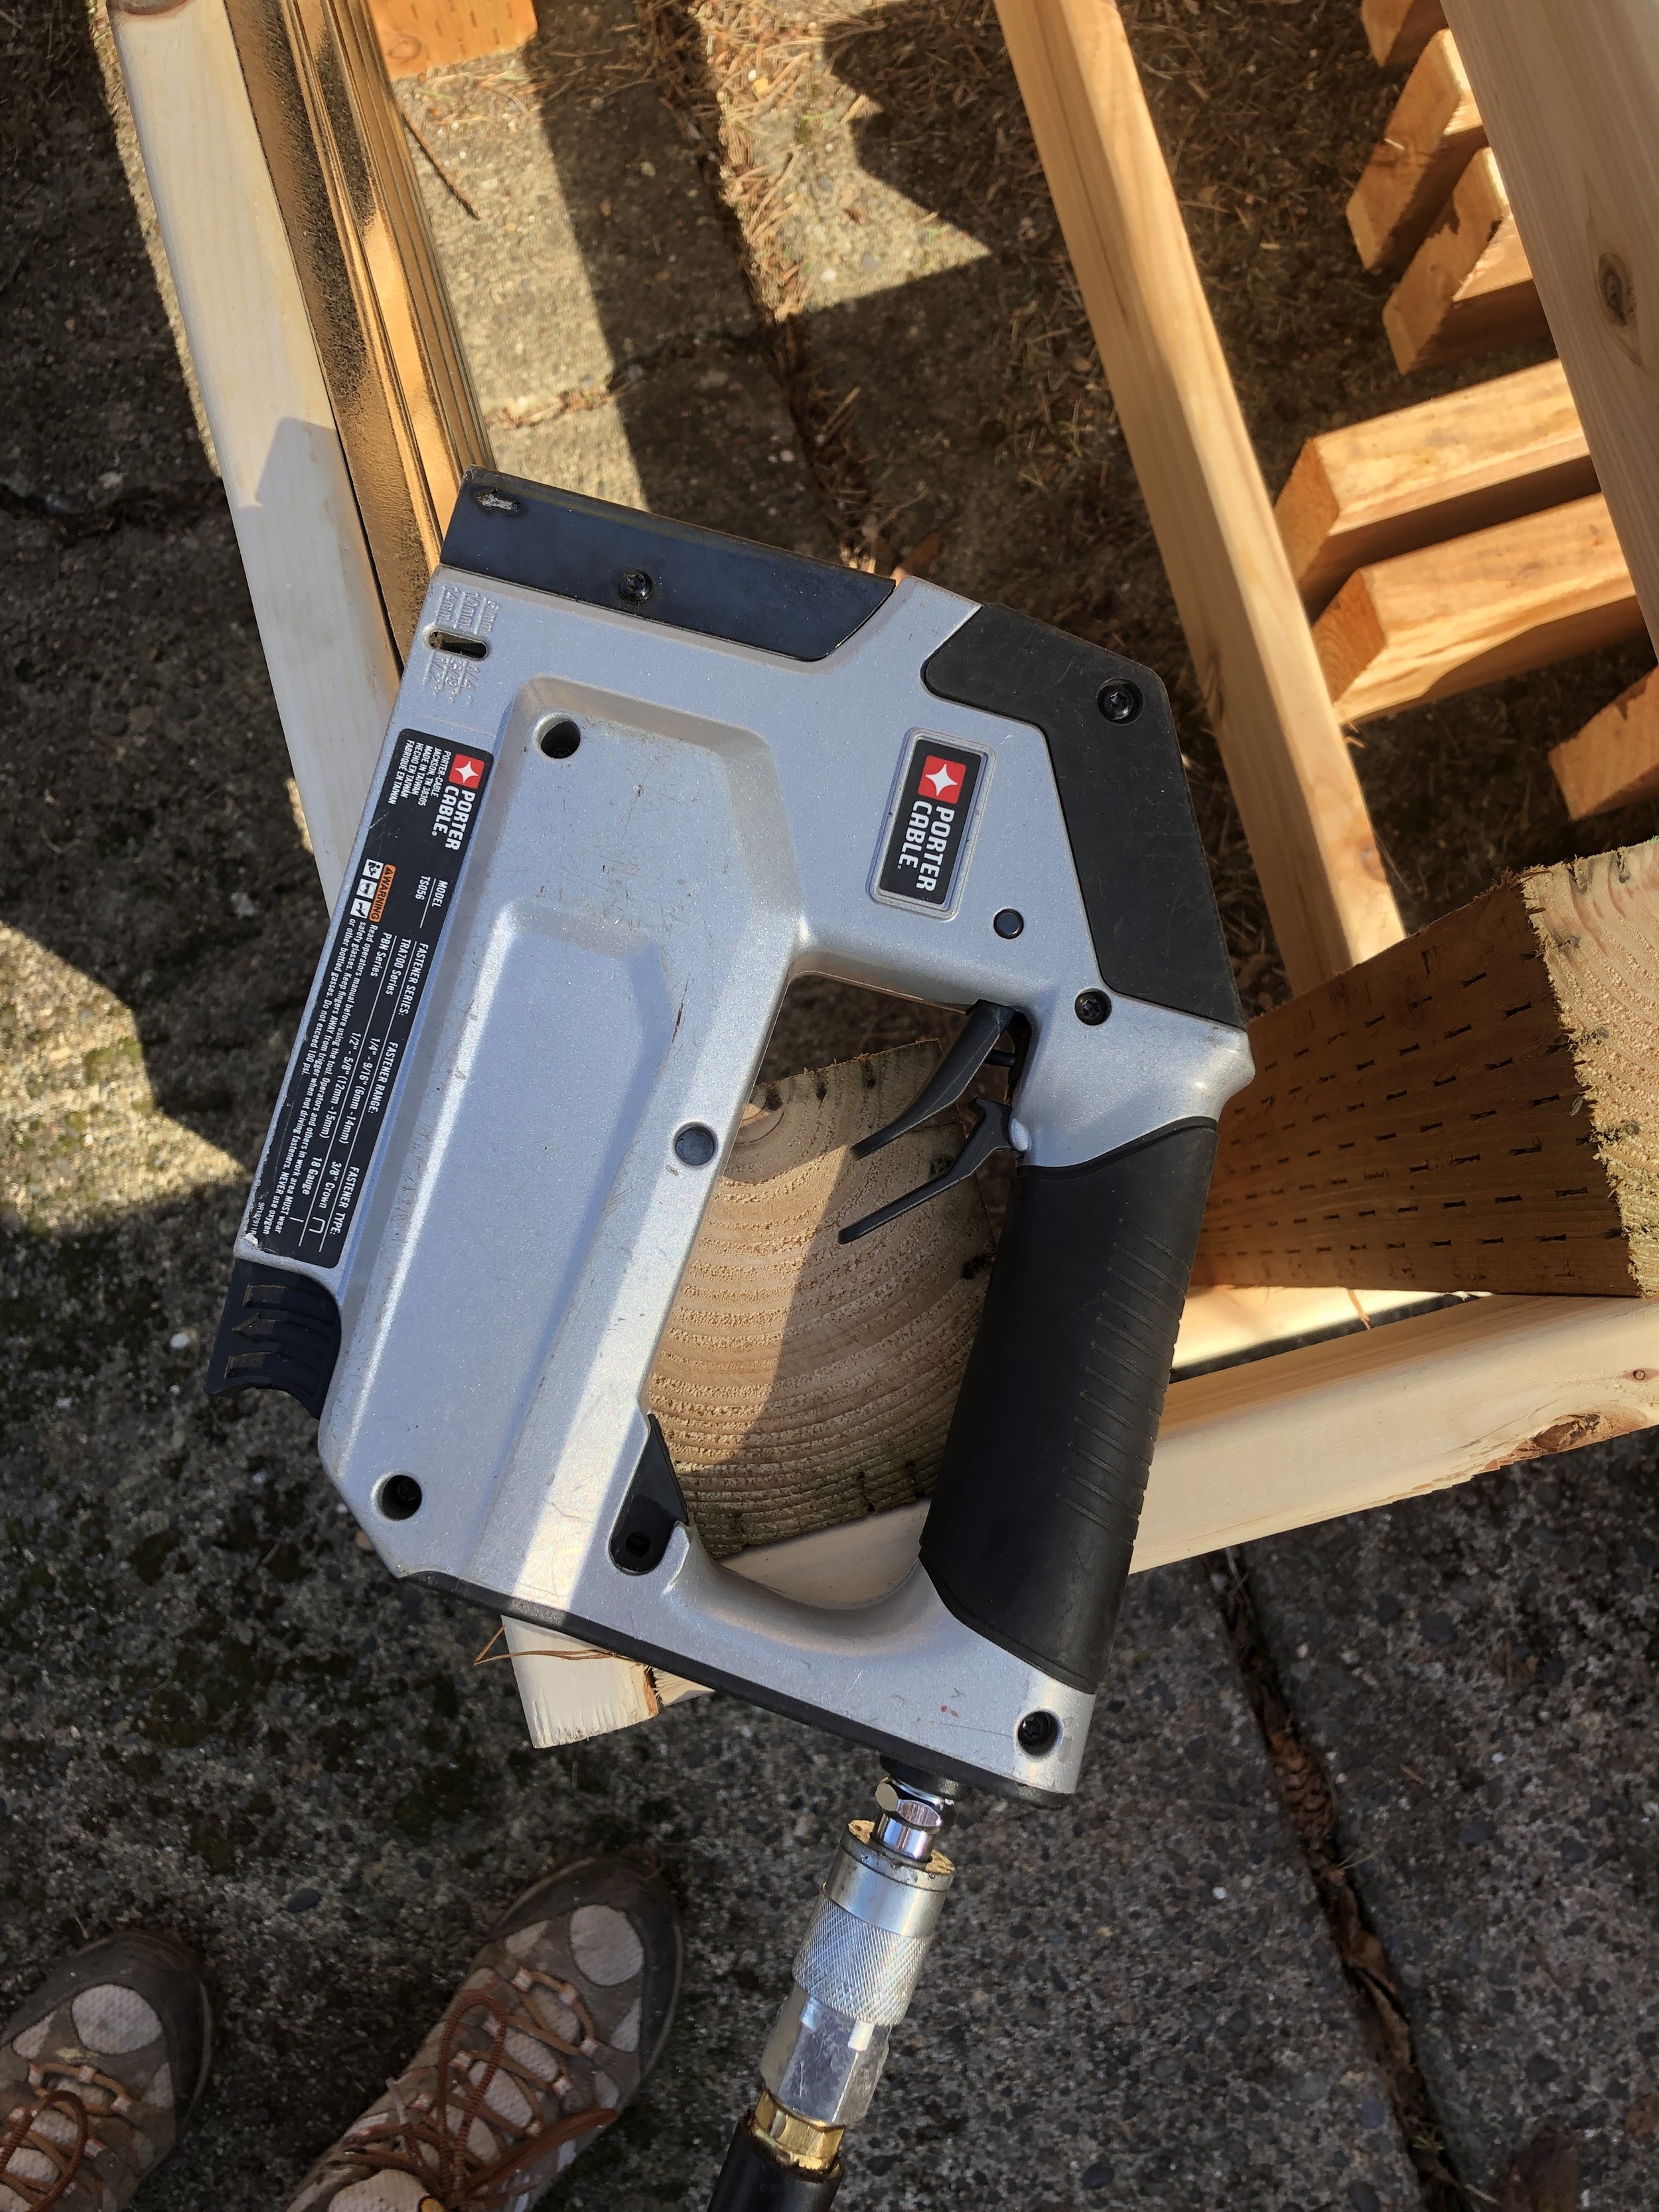
Nail Gun (a variety of sizes will be helpful like framing, brad, and staple gun)
Nails and staples
Miter or Skill Saw
Shovel
Post Hole Digger
Wood (I used cedar for this project because it is one of the strongest woods I can find in my area. If you decide to go with a softer, less expensive wood like hem/fir, make sure to add several coats of sealant to extend its life and durability)
4x4x8 (1 piece)
1x4x8 (2 pieces for the Three Foot Bed, 4 pieces for the Six Foot Bed)
1x2x8 (1 piece for the Three Foot Bed, 2 pieces for the Six Foot Bed)
Corrugated Galvanized Metal (roof panel style)
3x8 (1 piece for the Three Foot Bed, 2 pieces for the Six Foot Bed)
Cardboard
Compostable Yard Debris
Compost
Top Soil or Mulch (not bark dust)
INSTRUCTIONS
The instructions below are for a Three Foot Bed, I have made notes of what to pay attention to if you are choosing to instead make the Six Foot Bed. The steps can be followed for any size of bed you want to build, you will just need to adjust the measurements accordingly.

Step One
Cut the 4x4x8 pieces in 2’ sections (you will have four 2’ sections)
Three Foot Bed
For each of the 1x4x8 boards cut two 3 foot sections and two 1 foot sections (you will have a total of four 3 foot sections and four 1 foot sections)
Six Foot Bed
For each of the 1x4x8 boards cut one 6 foot section and one 2 foot section (you will have a total of four 6 foot sections and four 2 foot sections)
Step Two
Seal the boards using a low VOC, water repellent sealant (this step can also be done as Step One since the boards will need up to a day to dry)


Step Three
On the new 4x4x2 foot boards make a mark on each one at 18” (the remaining 6” will be set into the ground to help stabilize and level the bed) and lay them on a level area with the marks facing up
Nail one 1x4x1 (Three Foot Bed) or 1x4x2 (Six Foot Bed) foot boards to the 4x4x2 foot board, making sure it is flush on all sides
Line up the base of one of the 1x4x1 (Three Foot Bed) or 1x4x2 (Six Foot Bed) foot boards with the marks you made at 18 inches, making sure they also are flush with the edges of the 4x4x2 foot board and have an equal amount of difference from the top boards, secure these by nailing
Repeat this process for the other set of 4x4x2 and 1x4x1 (Three Foot Bed) or 1x4x2 (Six Foot Bed) foot boards

Step Four
Place both of the sections you just created on their sides with the length of the bed between them (3 feet for the Three Foot Bed, 6 feet for the Six Foot Bed)
Place one of the 1x4x3 (or 1x4x6) foot boards near the top of both sides, make sure it is flush with all edges and secure by nailing
Place one of the 1x4x3 (or 1x4x6) foot boards flush with the side pieces measured at the 18 inches mark and secure by nailing
Repeat this process for the other set of 1x4x3 (or 1x4x6) foot boards


Step Five
Measure the distance of the long ends of the inside part of the bed, for the Three Foot Bed the measurement should be at 26 ¾ inches
Measure the height of the distance between the top and base 1x4x3 (or 1x4x6) foot boards, this should be at 18 inches for both the Three Foot Bed and Six Foot Bed
On the corrugated galvanized metal measure two 18x26 ¾ (Three Foot Bed) or 18x62 ¾ (Six Foot Bed) inch areas, marking the space with a marker and using the level to draw out the lines, the corrugated ripples should be horizontal
Using the metal shears drill attachment (you can find in my Tools list on Amazon) cut the metal

Step Six
Measure the distance of the short ends of the inside part of the bed, these should be 4 ¾ (Three Foot Bed) or 14 ½ (Six Foot Beds) inches
You’ve already measured the height that should be 18 inches
On the corrugated galvanized metal measure two 18x4 ¾ (Three Foot Bed) or one 18x14 ½ (Six Foot Bed) inch area(s), marking the space with a marker and using the level to draw out the lines, the corrugated ripples should be horizontal
Using the metal shears drill attachment (you can find in my Tools list on Amazon) cut the metal
Step Seven
Secure each piece of the corrugated galvanized metal to the inside of the 1x4x3 (or 1x4x6 for Six Foot Bed) foot boards using the staple gun (I chose to use staples instead of nails since the wood was not very thick and the metal was thin)
Don’t worry if a little bit of the metal extends a little longer than your base board, you will be able to dig that area into the ground


Step Eight
Measure the distance from the bottom of the 1x4x3 (or 1x4x6 on Six Foot Bed) foot top board and top of the base board, this should be around 11 inches
Cut the 1x2x8 foot board into eight pieces (Three Foot Board) or ten pieces (Six Foot Board)
Using the brad nail gun, secure these pieces to the outside areas where the galvanized metal meets the 4x4x2 foot boards, this will help secure the metal from bulging once filled with dirt and also adds some curb appeal
For the Six Foot Beds secure three pieces evenly across the long ends

Step Nine
Identify the area you are going to place the bed
Measure the distance between all four 4x4x2 foot boards (legs) and mark the area
Using a post-hole digger (you can find in my Tools list on Amazon) dig 7-8 inch holes
Place the bed legs in the four holes and use the level to make sure the bed is balanced, dig deeper or fill in with dirt and rocks to create a level surface
Once level, fill the holes in with dirt (and rocks if you choose)

Step Ten
Line the bottom of the bed with cardboard, make sure to remove any plastic tape or labels
On top of the cardboard layer dried leaves, grass clippings, and other compostable yard debris
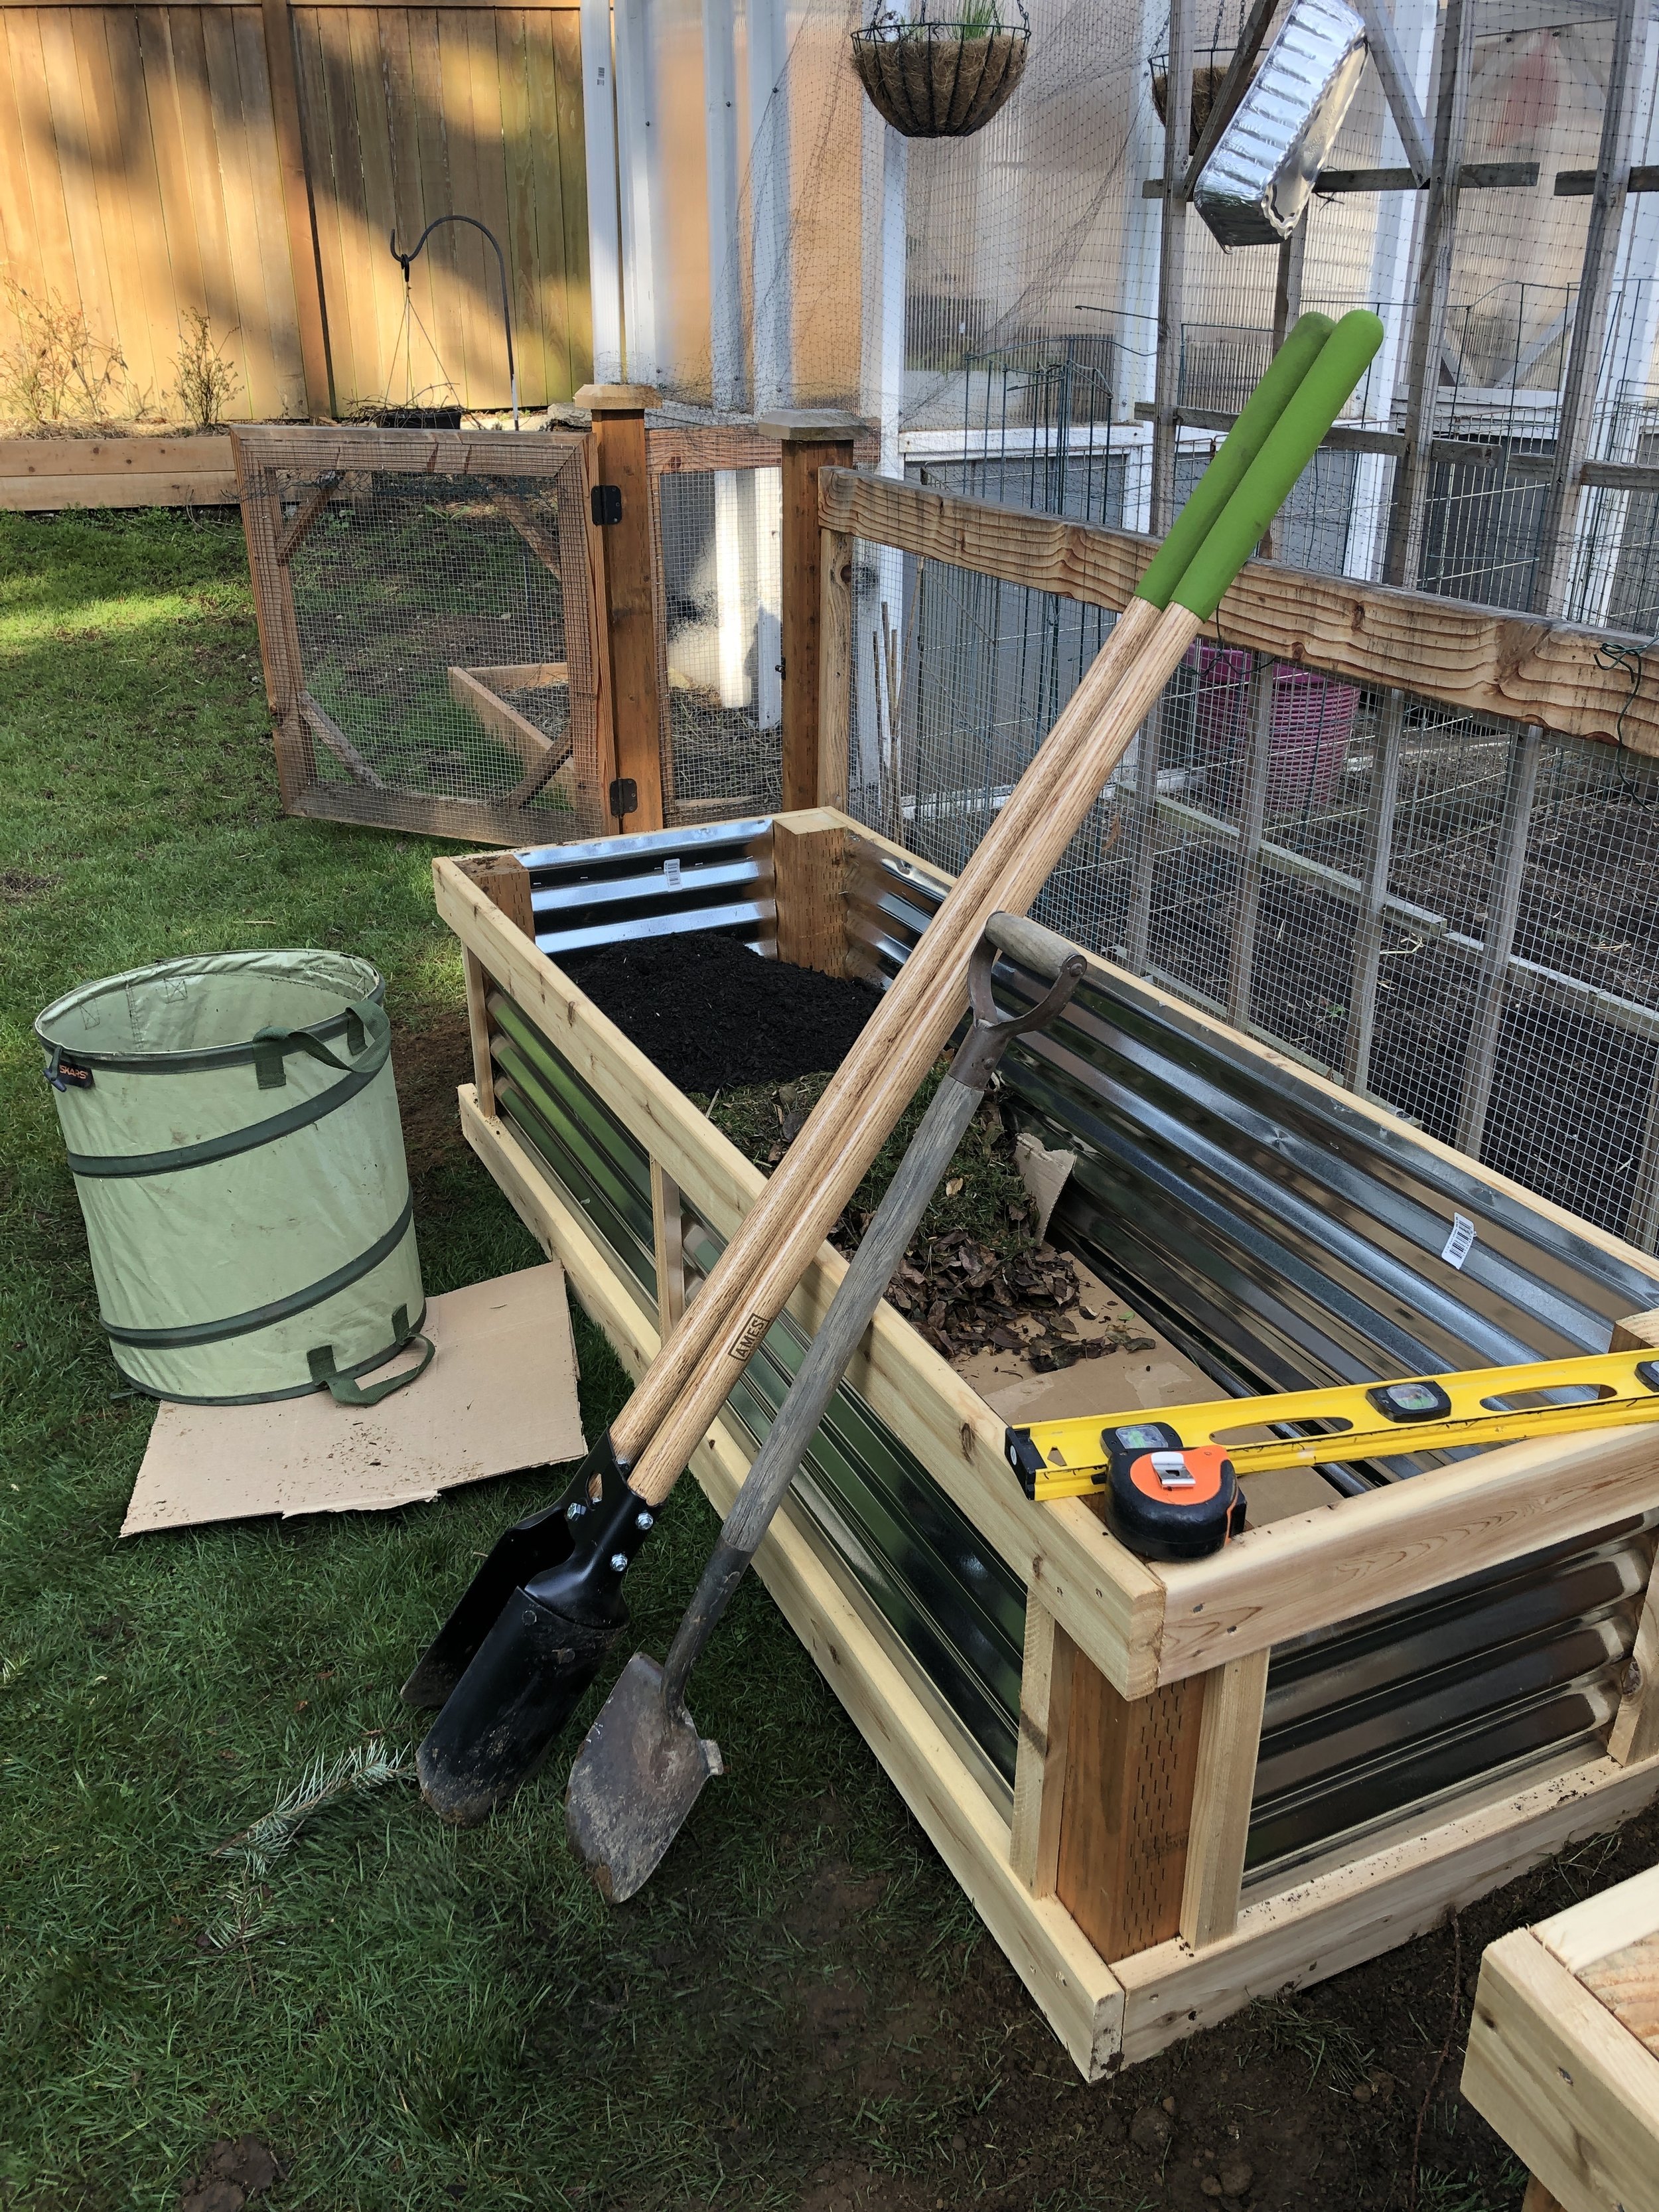
Fill in with a rich compost and top with either top soil or mulch
At this point you can start placing plants into the bed in the Three Foot Beds as long as you compact down the compost and top soil. For the Six Foot Beds it is best to wait at least a week for the yard debris to beak down and likely cause some extra space to add another layer of top soil or mulch to the top
These steps can be followed for any size bed you want to build, just make sure to put in enough 1x2 reinforcers on the outside of the long end of any bed to provide support and keep from bulging. Remember that these beds will hold in more heat than stone or wood-only beds, so you will want to monitor watering to make sure that the soil does not dry out. Have fun with your new raised beds and for joining me in this gardening adventure...let’s grow together!